
 My Account
If you have a tub and shower spout/faucet combination, there’s a common problem you might face: you turn the water “on” and divert the valve (meaning, you pull up on the handle or you pull down on the spout). Your shower might turn on… but you still get water leaking out of your tub spout. Nodding along while reading this? The good news is there’s an easy fix! Often, it just takes a couple of minutes and potentially no tools depending on your tub spout.
In this blog, we’ll cover why your bathtub faucet may start leaking, a 3-step fix to stop those pesky leaks and drips, and an alternative solution if you need a Plan B.
If you’d rather watch than read check out this 6-minute video
DISCLAIMER: This blog contains affiliate links, which means that if you click on one of the product links, I’ll receive a small commission.
Why does a bathtub faucet (or spout) leak when the shower is on?
Usually this issue comes from the actual diverter option on your tub spout. Essentially, when you turn the water on from your mixing valve, the water is flowing through the path of least resistance. Meaning, it’s going down the pipe and through your tub spout.
Then, when you pull up on the diverter rod (or down at the spout) that blocks the path of the water and the path of least resistance goes up through the showerhead. All this to say, it’s how you divert the flow from the tub spout up through the showerhead.
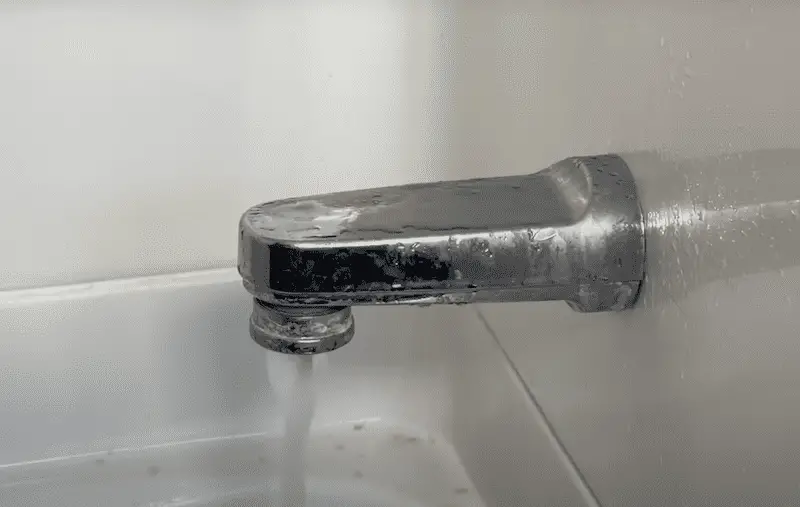
However, if you have a bunch of mineral deposits that build up over the years, the gate that shuts the water off at the tub spout can become blocked or partially blocked.
Although it may still flow water through your shower head, it’s partially still open. So you still get that little bit of water coming through the tub spout.
3 Step Fix for a Leaking Bathtub Faucet
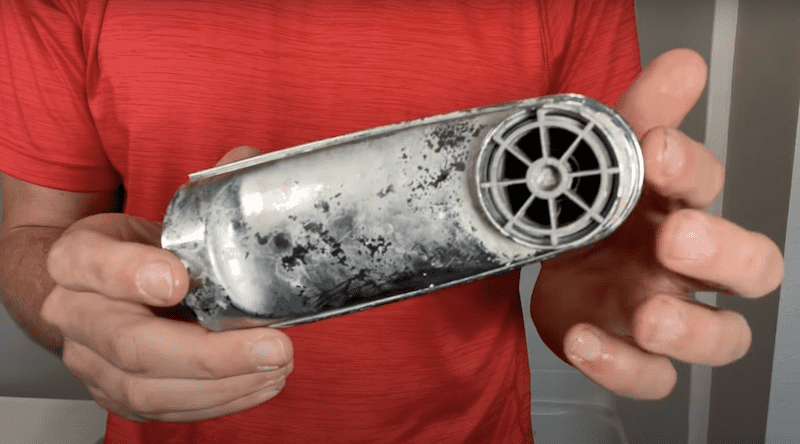
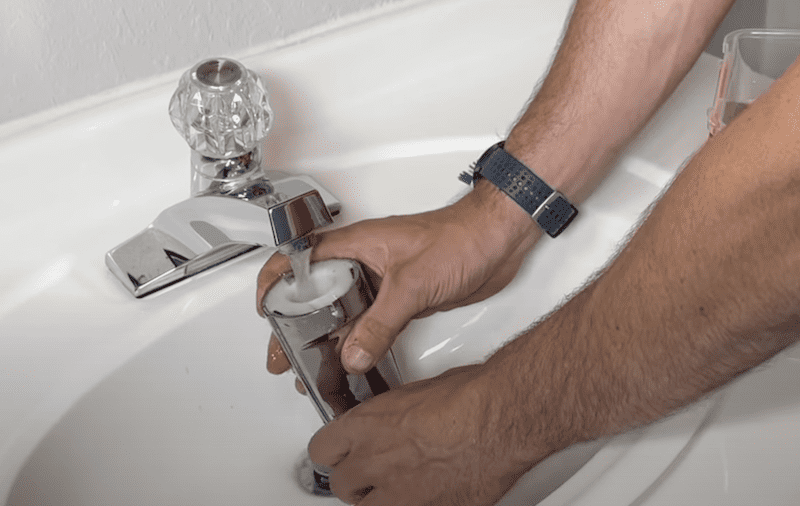
1. Remove the spout
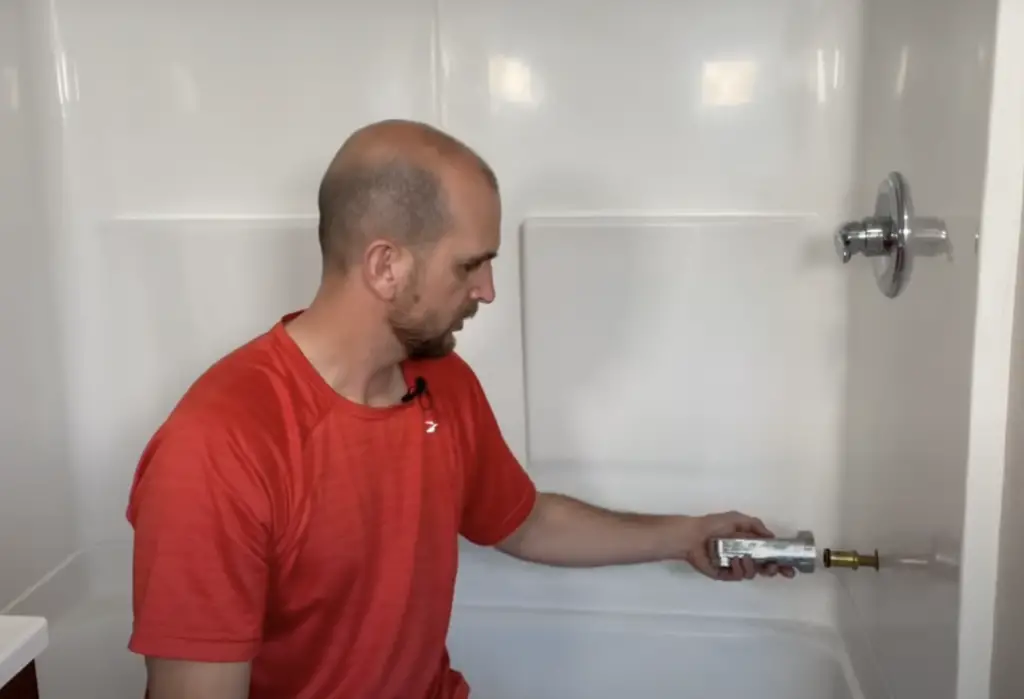
Removing the tub spout is very easy. There are a few different designs, but for the one I’m dealing with – you unscrew it in the counterclockwise direction for several turns. From here, the tub spout comes off easily.
Note: this is a Delta type of valve and tub spout combo with an adapter. (You shouldn’t see any teflon tape even though some people put it at the back threads. But it’s not needed because the o-ring at the front does the sealing and ensures you don’t have leaks at the back of the tub spout.)
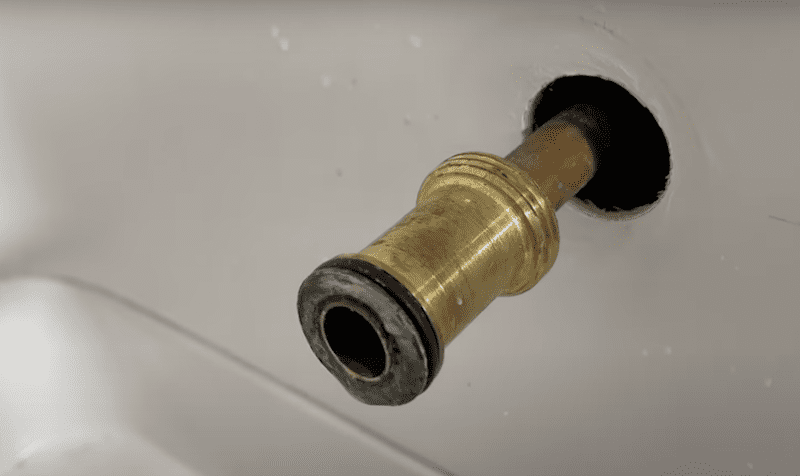
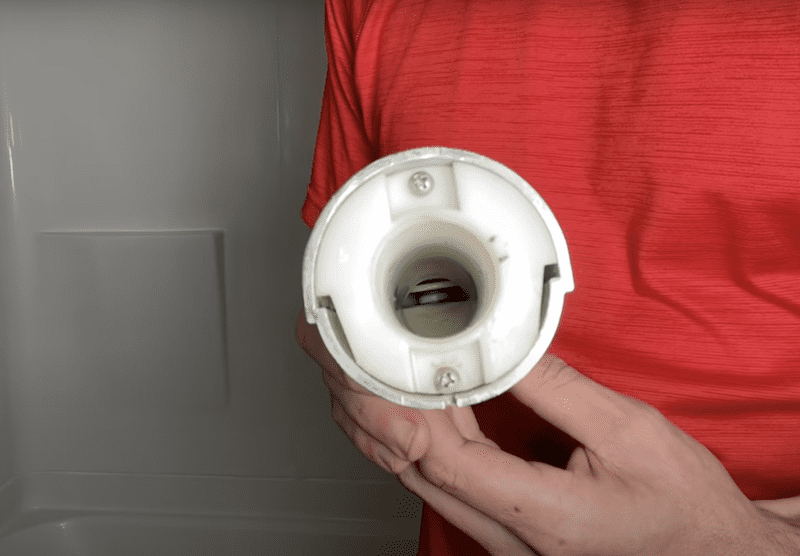
There’s a little plate that’s popped up that would let water come through the tub spout and down. But when you pull this down you can see it closes off, which closes the water off going through the tub spout and pushes it up through the shower valve.
2. Clean mineral deposits
With this one, there are visible mineral deposits on the tub spout, which are allowing it to stay partially open. So to get that off you need a container that will be able to fully submerge or close to fully submerge your spout.
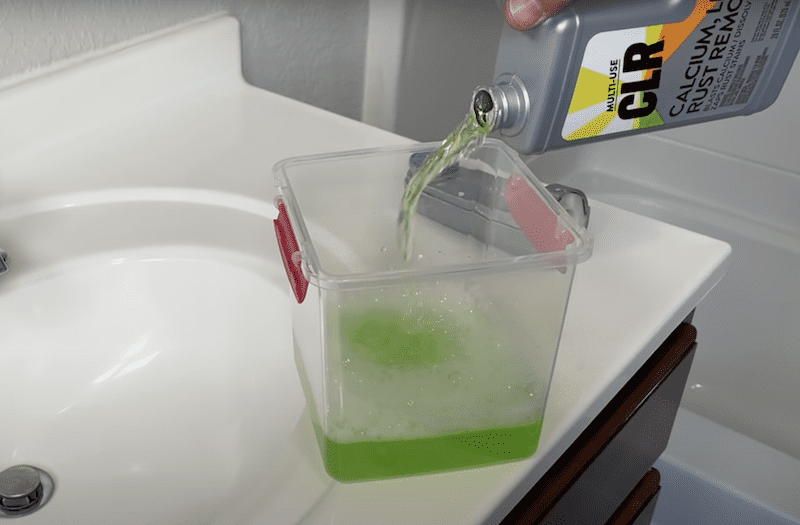
Then, use a container of CLR. Mix one part CLR to the same volume of water. If you have white vinegar around the house that might also work as well to break up the mineral deposits.
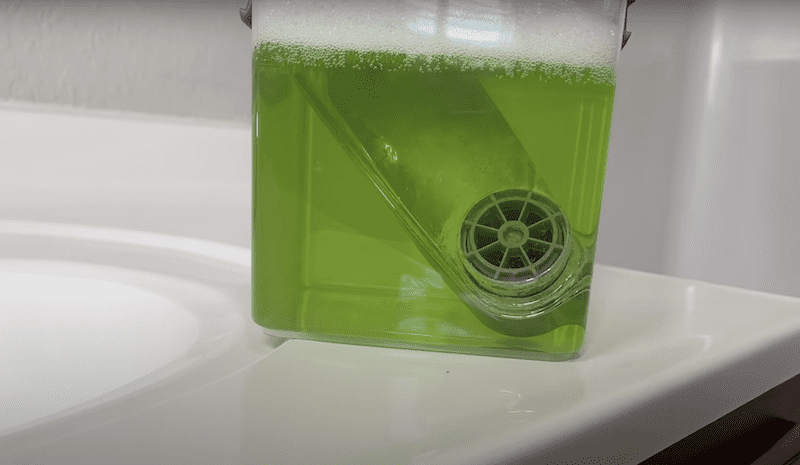
From here, let the tub spout sit in the solution for 15 minutes. It should start to loosen up and break free all the mineral deposits. I’d recommend using gloves and an old toothbrush to help break up the deposits and get any excess deposits out.
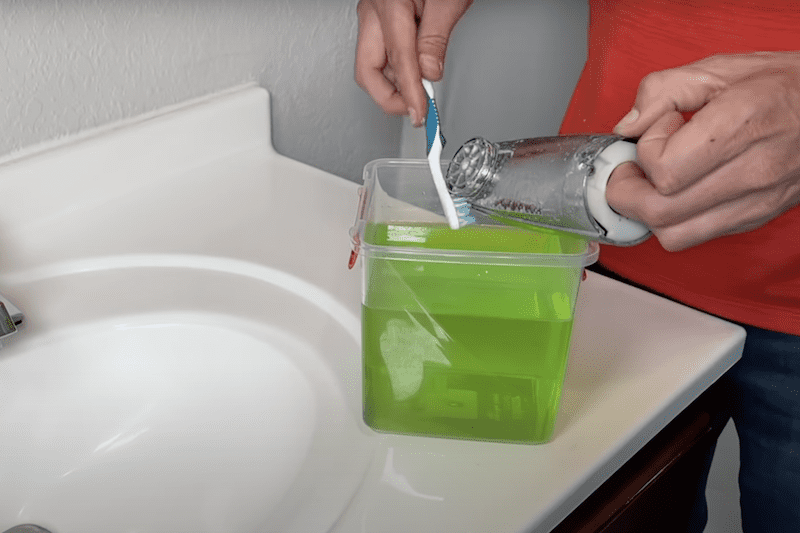
Flush out the tub spout with water and open and close the diverter valve, breaking free the middle deposits inside. That is really all there is to it!
3. Re-install and test the bathtub / shower faucet
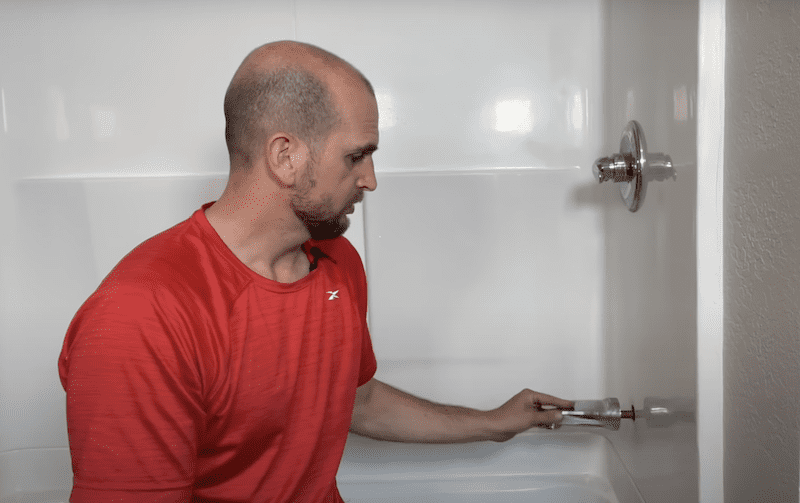
In this final step, you’ll want to reinstall the spout and then test it to make sure it’s working. Rotate it clockwise until it’s snug with your surround. And test it out to see if there’s an improvement.
Remember for this type of tub spout and adapter, the o-ring is already on so there’s no need to use any Teflon tape. On the other hand, if you have the threads at the start/end of your tub spout (known as pipe threads), you do need to install new Teflon tape to make sure you don’t have any leaks
The Wrap Up
These steps helped me with my leaky bathtub faucet vastly. There are still a few drops leaking out here and there, but it is night and day from what it was before. Freeing up those mineral deposits in the diverter itself allowed the water to go up through the showerhead itself.
Did this not work for you?
If this doesn’t work, take that spout down to your home improvement store and you’ll likely be able to get a direct replacement. So don’t spend too much time using CLR or vinegar because if you’re having trouble – a replacement may do the trick and it’s generally about $10-$15.
Let me know in the comments if you have any questions or if you’re seeing issues that you want some help with.
See more bathtub repair projects like how to reverse hot & cold water in a shower and how to fix a bathroom sink drain stopper.


