
 My Account
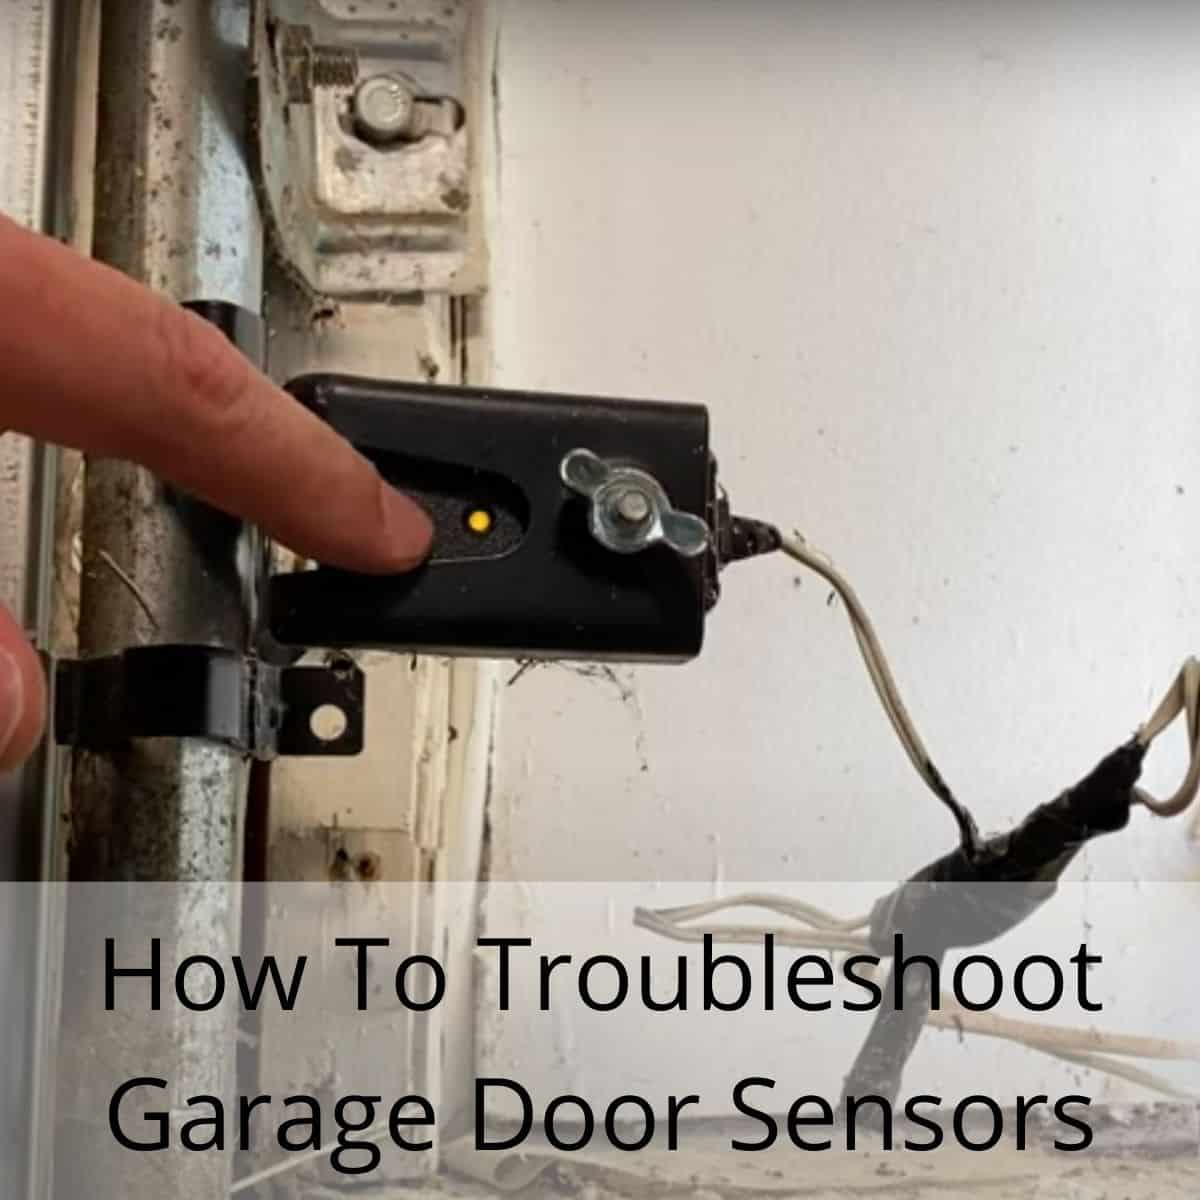
Have you ever found yourself in a scenario where you’ve come home from a long day of work, parked in your garage, only to discover that the garage door won’t close?
More often than not, this is due to an issue with your garage door sensors, which can be frustrating to have to troubleshoot when you’re already exhausted. If the garage door light flashes on and off 10 times when you try to close the door this is an indication the problem is coming from your garage door safety sensors.
Four common issues that can prevent your garage door from closing are:
- Misaligned safety sensors
- An object in the path of the safety sensors
- A missing power supply for the safety sensors
- In rare cases, a damaged door rail
Before you call a repair person to come and take a look at your garage door, take a look at some of these easy troubleshooting tips that can save you a lot of money in repair bills. However, if you’re more of a visual learner, check out my YouTube channel to watch a video on the subject!
How Do Garage Door Sensors Work?
Automatic garage doors have been around for a long time now, and while they are a tried and tested piece of machinery, they are not infallible. Additionally, since 1996 new garage door openers have been required to have a safety system in place where the garage door will not close if something is in the path of the closing door.
Thankfully, most of the common issues that come from garage doors are easily checked and can be fixed by the average person, whether you have DIY experience or not.
There are many moving parts involved in a modern garage door opener. While some of them are more advanced, the most common culprit of issues for the average residential home is the safety sensors. In most cases, your garage door safety sensors are small devices usually located within 6 inches of the floor at the bottom of each side of your garage door.
These sensors work thanks to the use of a photo-eye system. The sensors are placed between two to six inches above the ground and use infrared light to stay connected to each other across the threshold of your garage door. When you use your remote control or keypad to close your garage door, the garage door opener must have an uninterrupted signal between the two sensors. So if a person, animal, or any other object is in the way, the door will stop closing and reopen instead.
Troubleshooting Your Garage Door Sensors
This interruption of the infrared beam is the point where most of the issues involving these sensors arise. There can be many different reasons why the beam is being interrupted, and troubleshooting your garage door sensors consists of looking into those possibilities to find out which one is the culprit.
To help you with troubleshooting your garage door sensors, we have included a few common occurrences that may be preventing your sensors from functioning correctly. Go through these steps one at a time until one of them fixes the problem, and then you should be all set to close that door and get back to your day!
Step 1
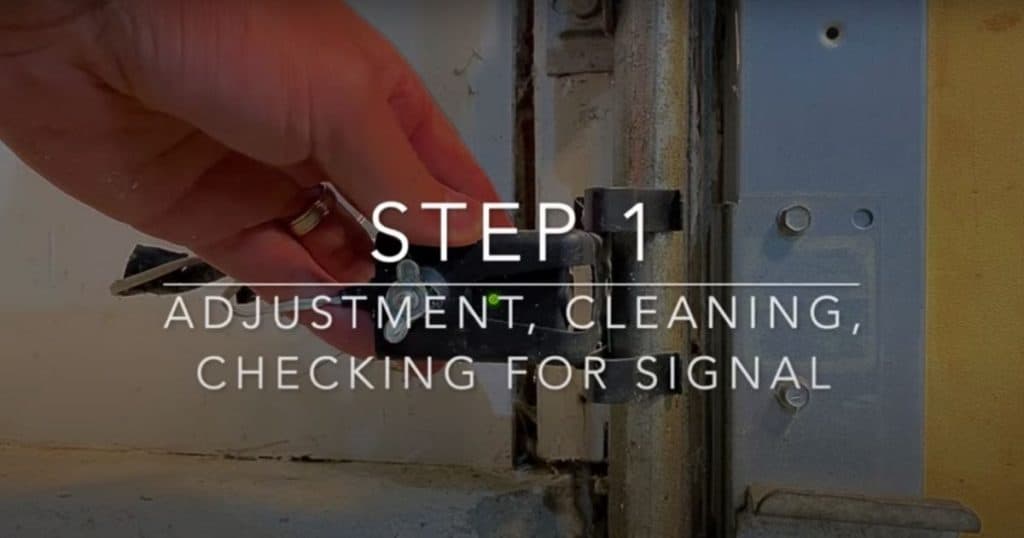
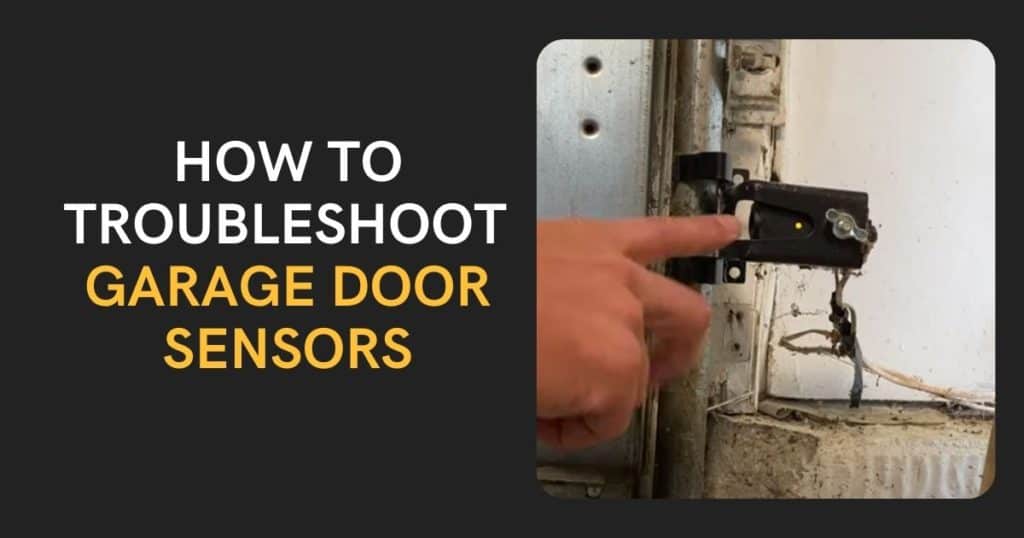
First step is to check if there is an obstacle in the way of the infrared beam. You will find one sensor with an amber color LED which should always be on and this sensor sends the sign also known as the sender. The sensor across from the sender has a green LED which is only on if the sensor, also known as the receiver, is receiving a signal from the sender. Check the LED lights and both the sender and receiver to make sure they are on.
If the receiver green LED is not on, check to make sure that there is nothing in the path of the beam, if the path is clear start by cleaning the lenses of both safety sensors. Take a microfiber cloth or similar, and clean around the lens on each of the garage sensors. If the green indicator light is now on for the receiver then test the door to see if it closes.
Still not getting the green LED to turn on? Let’s continue to troubleshoot some additional common problems. Next up is one of the most common reasons for not seeing a lit green LED and your garage door not closing. This issue is associated with the receiver being misaligned and not pointed at the sender. Don’t worry, this is an easy fix! The bracket for the safety sensor has a wing nut that can be loosened to adjust the position of the safety sensor. Loosen the wing nut and align the receiver so it is pointed across the garage door opening to the sender At this step, you might see the green LED turn on, and if that is the case you can test your garage door and see if you are back in business.
Step 2
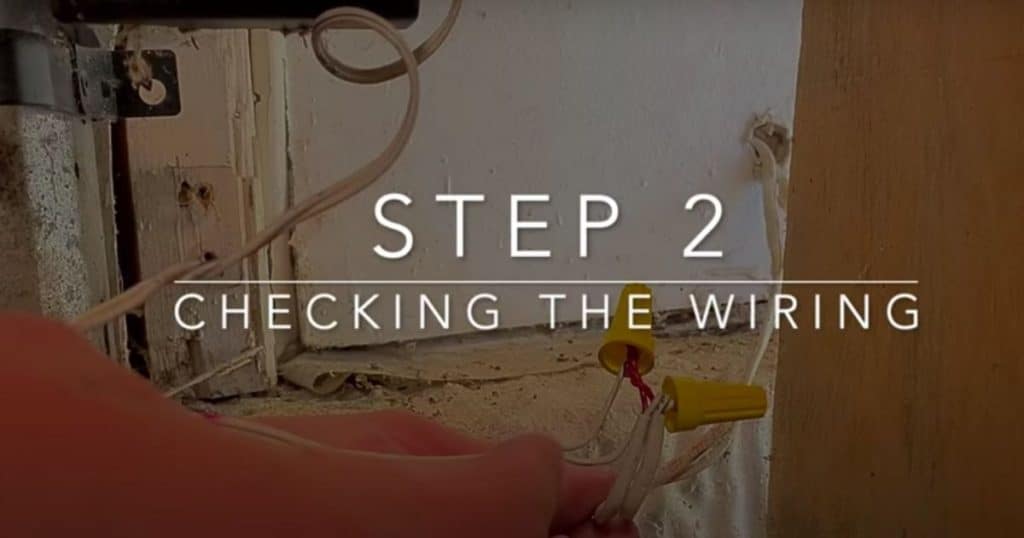
Check if the sensors are getting power. Most garage door sensors will have wires coming from the back which connect to wires running up the wall and across the ceiling to your garage door opener. Check these wires to see if any ends have slipped out of their wire nuts and if so, twist them together with the wire nut to get a stable connection again.
If your sensors seem to work in an on and off fashion you might have a poor connection between the safety sensors and the wiring going up to the garage door opener. You can check this by going to the sender which has the amber colored LED and perform a “wiggle test.” A wiggle test is easy and it will be where you wiggle or move the wiring back and forth at the back of the safety sensor and also at the connections between the safety sensor and the wire running to the garage door opener. If you see the amber LED turning on and off during the wiggle test this indicates you might have an issue with the wire nuts and should resecure the wires together after turning the power off.
Step 3
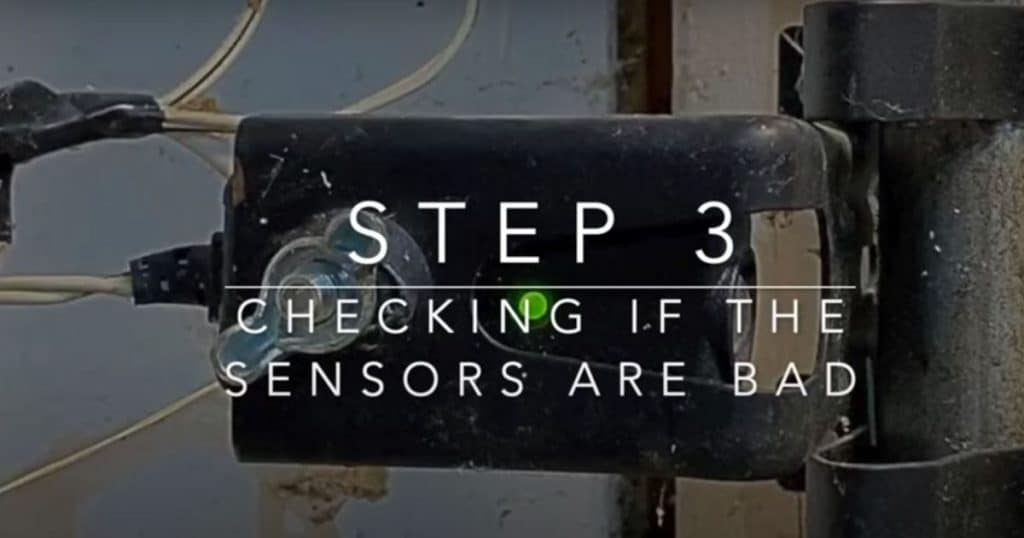
The last troubleshooting suggestion is to see if the sensors are bad. To do this I remove the sender and receiver from the brackets at the bottom of the garage door track and mount them up at the actual garage door opener unit. What this does is take the wires running across your ceiling and down the wall out of the equation. So if the sensors now work up at the garage door opener we know there is an issue with the wire runs and they will need to be replaced
To complete step 3 you will unplug the garage door opener and remove the wire runs from the garage door quick connects and then twist the wire ends together for both sensors so you have the white wire with a black stripe going to the grey quick connect and the white wire going to the white quick connect. Once the wires from the sensors are installed you can plug your garage door opener back in to see if you get the green and amber LED to turn on. If the LEDs are not turning on this could mean you need to order and new pair of safety sensors.
Sunlight Affecting The Sensors

As one of my YouTube viewers pointed out, if you have direct sunlight hitting one of the sensors, which can occur at certain times of day throughout the year, it can prevent the infrared light from connecting properly between the sensors. They were able to resolve it by placing a piece of cardboard between the sensor and the open garage door, which shaded the lens to block the direct sunlight.
Depending on where you live, this may not be an issue, but if replacing a sensor does not fix the problem, or if it only happens at certain times of day, this may be the culprit!
Time To Close The Door!
Hopefully, one of these troubleshooting steps was the cause of your garage door troubles, and you can rest easy knowing that you saved yourself from a hefty repair bill by handling it yourself! Especially if you consider that most professional repair people will start the process by checking these things first.
Don’t forget to check out my YouTube channel for many home fixes and troubleshooting guides. You will be amazed at how many common problems you can fix yourself with a little bit of know-how and a willingness to dive right in and figure it out!


